On this page
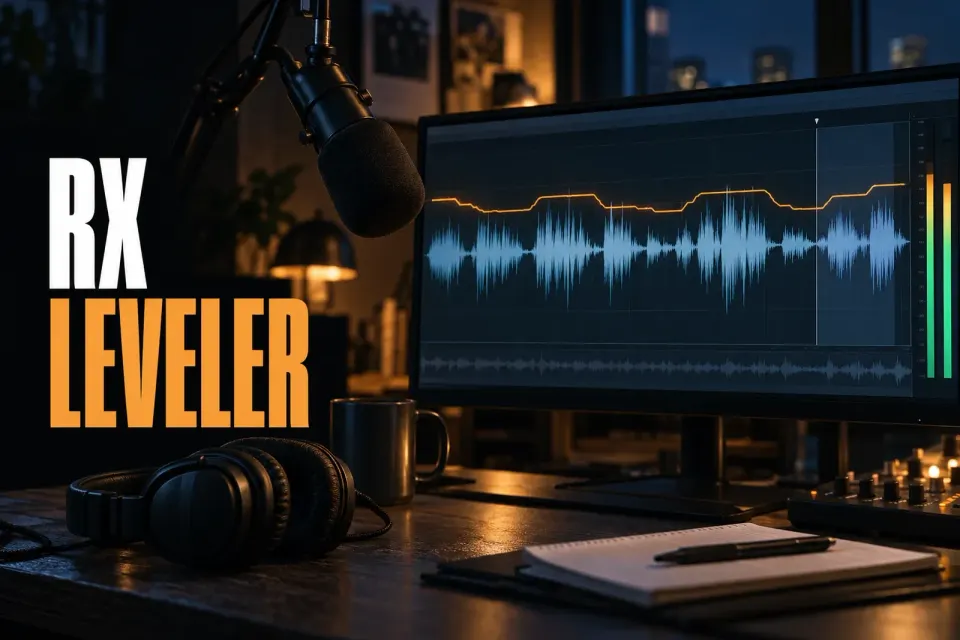
iZotope RX Leveler evens out dialogue and vocal phrases by drawing a time-variable Clip Gain envelope. It is useful when one take, speaker or sentence sits noticeably lower than the next, but the recording still needs to sound like a performance rather than a flattened file.
Leveler is an Advanced-only RX module. It smooths internal level changes; it does not set a delivery LUFS target. For that final specification, use the RX 12 Loudness Control workflow after the dialogue balance is settled.
What RX Leveler is actually for
Leveler sits between two jobs that are easy to confuse. Manual clip gain fixes a line, word or breath that needs a deliberate move. Loudness Control applies a constant gain to the selected file so it can meet a measured loudness and true-peak requirement. Leveler works across changing material: it follows the signal and creates an editable Clip Gain curve.
That makes it a good fit for dialogue assembled from different takes, a guest who moves around the microphone, or a vocal performance with uneven phrases. It is not a substitute for repairing clipped audio, removing a chair hit or choosing a final podcast loudness target. Fix those problems in their own pass; then decide whether the remaining level movement is broad enough for Leveler.
The current RX 12 Leveler documentation describes K-weighted RMS detection, a compressor with makeup gain, and a non-destructive Clip Gain result. The target is a guide, not a promise of an exact output value. At an aggressive target, the module may stop short to avoid clipping.
A clean RX Leveler workflow
- Repair first. Remove clicks, clipping, hum and obvious interruptions before asking an automatic process to judge the level. A cough or a loud room bump can look like useful material to a level-riding algorithm.
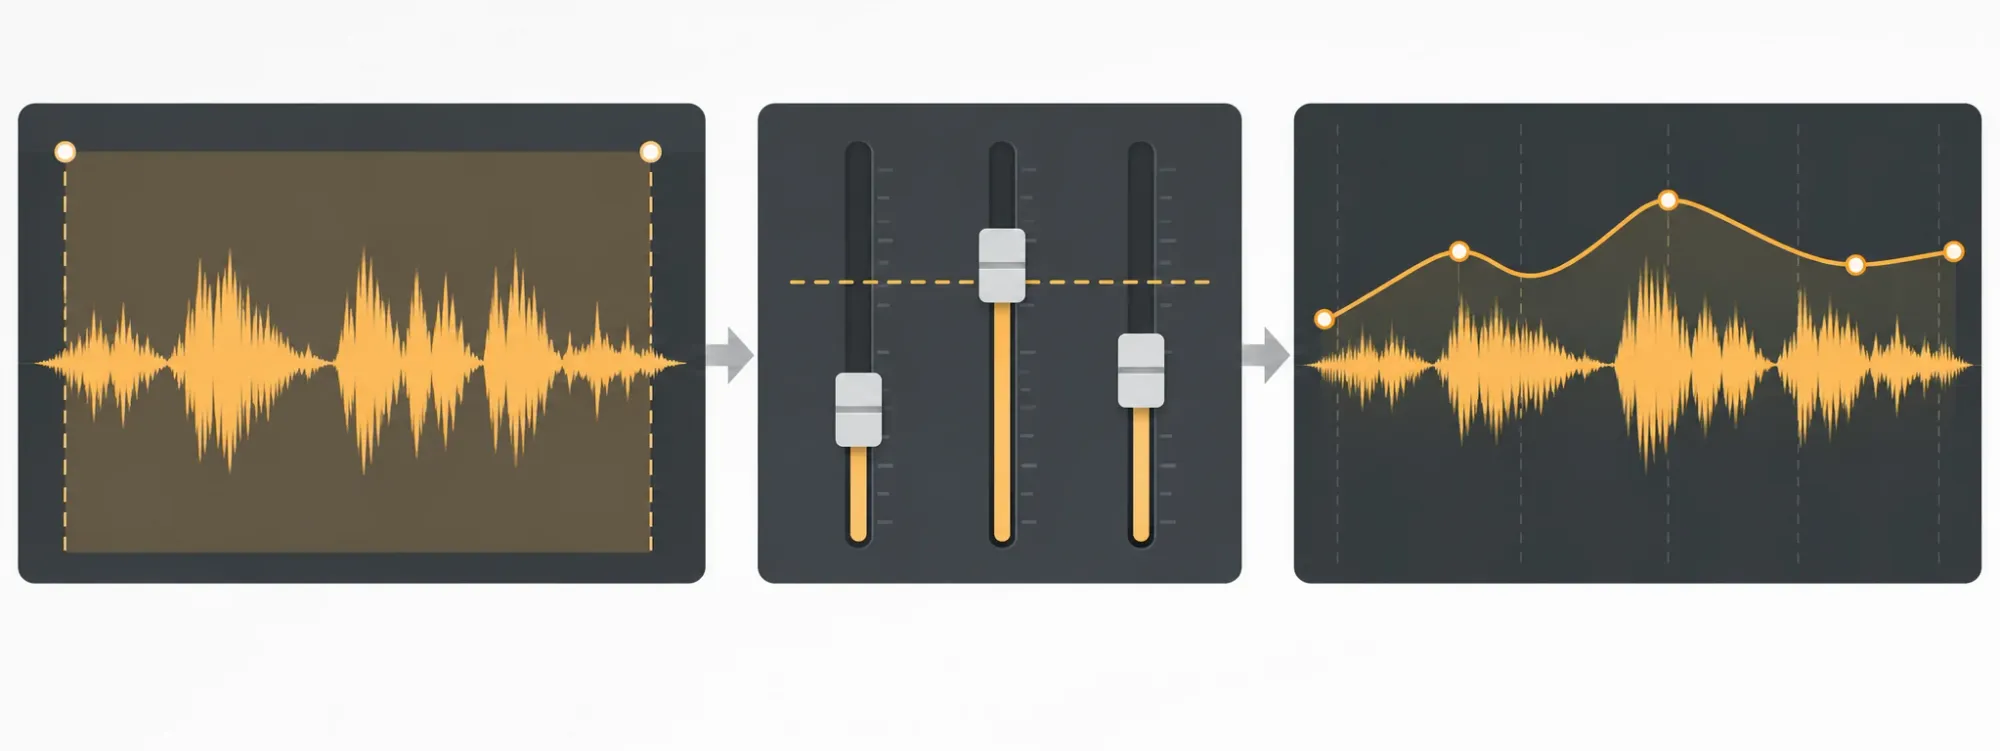
- Select the passage that needs leveling. Include the uneven phrases you want to balance, then compare them with the surrounding material. A low line may simply be too quiet to follow, or it may belong to a deliberate pause. Keep that distinction in mind before processing a longer selection.
- Choose the material type. Use Dialogue for spoken-word material and Music when the signal should fade naturally into its noise floor. The modes handle the noise floor differently and are intended to reduce pumping in their respective material.
- Read the RMS values before chasing the target. The Total, Maximum and Minimum readouts describe the selected audio. They help you choose a sensible direction, but they do not replace listening. A higher target is not automatically a better target, especially when the file contains room tone or a fragile ending.
- Start with a moderate response and protect the dynamics. Lower Responsiveness values react more aggressively to sudden changes. Higher values behave more smoothly across words and phrases. Preserve Dynamics limits how far the gain curve can move away from the original dynamic range; use it to keep a natural performance from becoming unnaturally even.
- Preview the transitions. Listen to the first word after a pause, a laugh, a breath, a room tail and any edit between speakers. Leveler can make a quiet background sound more obvious when it raises a phrase. If the change is only needed in one sentence, manual clip gain may be the cleaner decision.
- Inspect the Clip Gain envelope before the next process. The result is visible and editable. RX warns that applying another module after Leveler can write the clip-gain values into the audio and return the nodes to zero, although the settings remain in Undo History. Save a checkpoint before continuing if you may need to revisit the balance.
RX Leveler controls, in plain English
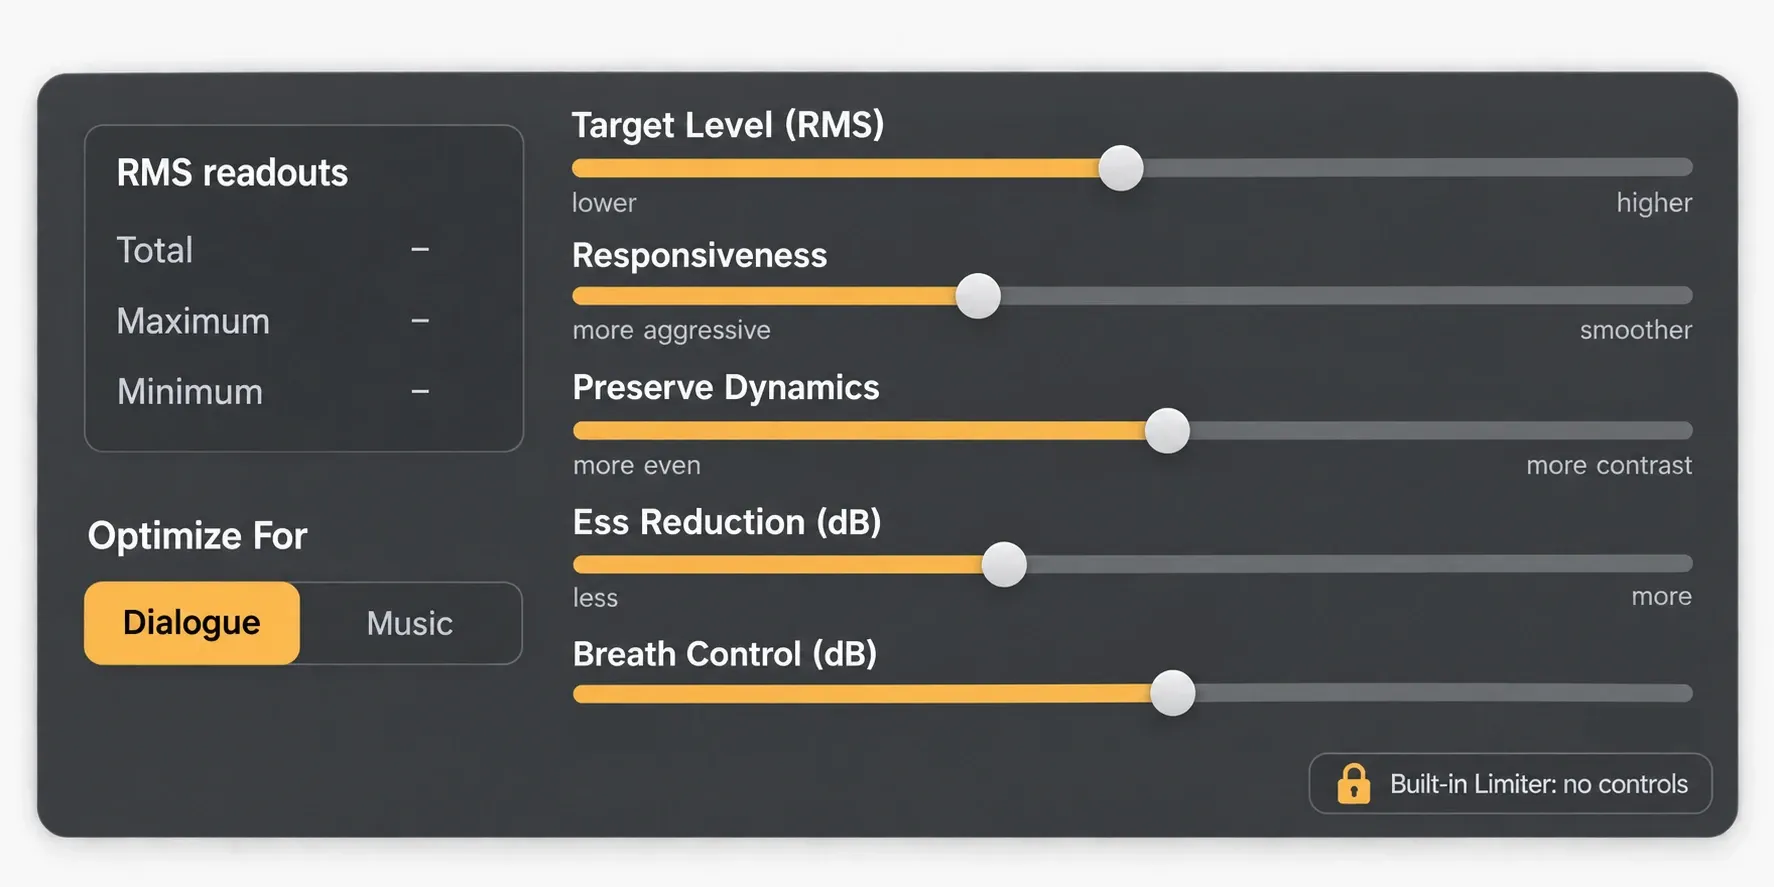
Optimize For switches between Dialogue and Music. This is not a style preset. It changes how the module treats the noise floor, so choosing the wrong mode can make pauses or sustained musical decay behave poorly.
Target Level sets the desired average RMS direction. RX uses K-weighted RMS to better reflect perceived loudness, but Leveler is not a loudness-compliance tool. The output can differ from the target, and pushing the target high can leave it unmet rather than risk clipping.
Responsiveness controls the integration time used for level detection. The manual compares it to a compressor's attack and release settings. Lower values are more forceful with sudden variation; higher values make broader phrase-level moves.
Preserve Dynamics controls how much of the original dynamic range remains. Lower settings allow a more even result. Higher settings keep more contrast between loud and quiet material. When the voice starts to sound pinned in place, this is one of the first controls to revisit.
Ess Reduction keeps sibilant sounds from being mistaken for quiet material that needs a boost. It is designed for dialogue and vocals and sets the amount of reduction applied to detected esses.
Breath Control detects breaths and applies Clip Gain attenuation instead of treating every breath as a level problem. Its slider sets the level, in dB, that detected breaths should be reduced to. RX treats that value as a guide: loud breaths come down more, while quiet, natural ones can stay where they are. Keep the setting conservative when natural breathing is part of the performance.
Built-in Limiter has no adjustable settings; it keeps the gain envelope from introducing clipping. It is a guardrail, not a reason to push Target Level until the limiter does all the work.
When Leveler sounds wrong
It pumps between words. Confirm that Optimize For matches the material, then try a smoother Responsiveness setting. Check whether the process is reacting to a cough, click or room event that should have been repaired locally.
It raises the room tone. Leveler cannot know that a quiet sentence is less important than the background around it. Reduce the amount of allowed movement with Preserve Dynamics, use a less aggressive response, or fix that phrase with manual clip gain instead.
The target is not reached. That can be expected. The RX manual treats Target Level as a guide, and a high target may be left unmet to avoid clipping. Do not solve the number by forcing the entire file upward; inspect peaks and listen to the loudest phrases.
Esses or breaths become distracting. Use Ess Reduction or Breath Control sparingly, and compare the result with the unprocessed take. For a breath-specific pass, the separate RX Breath Control guide covers the narrower task. Leveler should not erase the performance's natural phrasing.
Only one line is wrong. Select the line and use manual clip gain. A global ride is harder to justify when the problem is local, especially in an audiobook where a quiet pause may be intentional. The audiobook cleanup workflow gives that decision more context.
Level the dialogue, then measure delivery loudness
Leveler improves the relationship inside a recording. It does not certify the finished file. After edits, breaths, music, ads and transitions are in place, measure the complete program against the destination's integrated loudness and true-peak requirements.
Use RX Loudness Control for the final LUFS and true-peak check, not Leveler's Target Level. Loudness Control and Leveler answer different questions: one asks whether the program meets a delivery specification; the other asks whether the words and sections sit together naturally.
For a podcast, balance speakers before the final measurement; the RX podcast cleanup guide places level decisions in that wider sequence. For export and revision safety, keep the processed document and final render distinct, following the site's RX import and export workflow.
The short version: use RX Leveler when the whole performance has uneven internal level, keep the response broad enough to preserve phrasing, edit the Clip Gain curve when it overreaches, and leave final LUFS compliance to a separate measurement pass.